
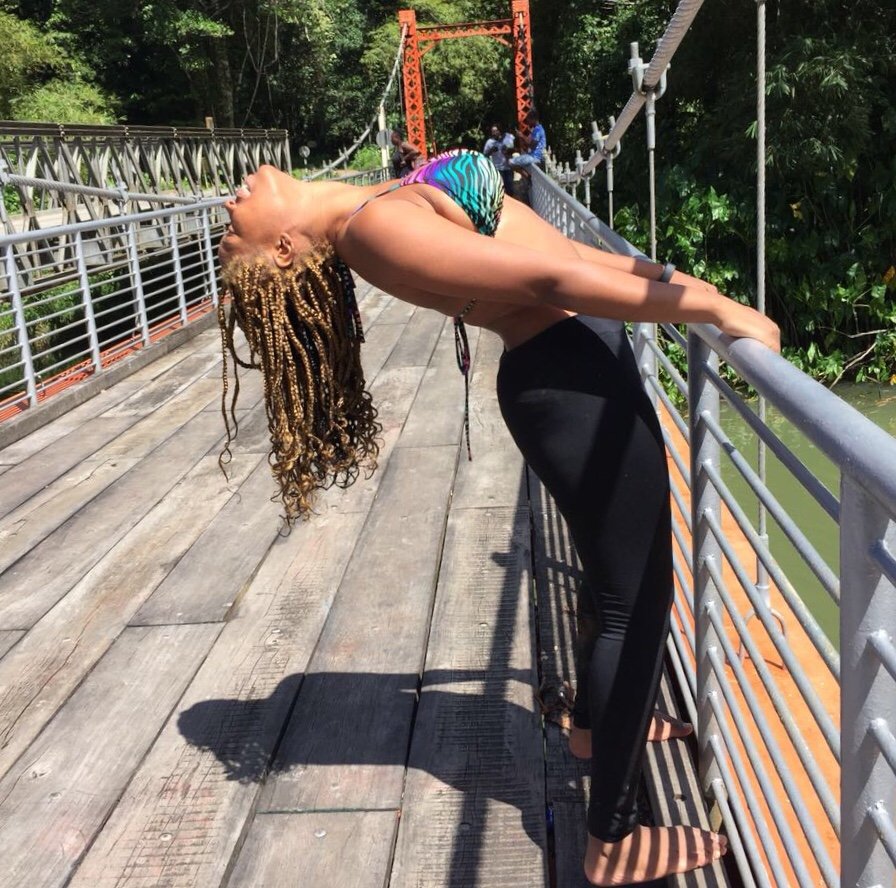
Have you ever wanted to wear a wig but it’s not really your thing? Personally, I never quite caught on to the Brazilian hair train.
But, a wig was needed being that I just started my Locs. So, I decided to make myself a braided wig and in this post I’m sharing all the details.
How To Make a Braided Wig
I’ll be jumping right into the post because it might be quite long. Firstly, these are the list of items that you will need.
Items needed to make a braided wig:
- A mannequin head. I purchased the mannequin head below from amazon for the low!
click photo to view on amazon

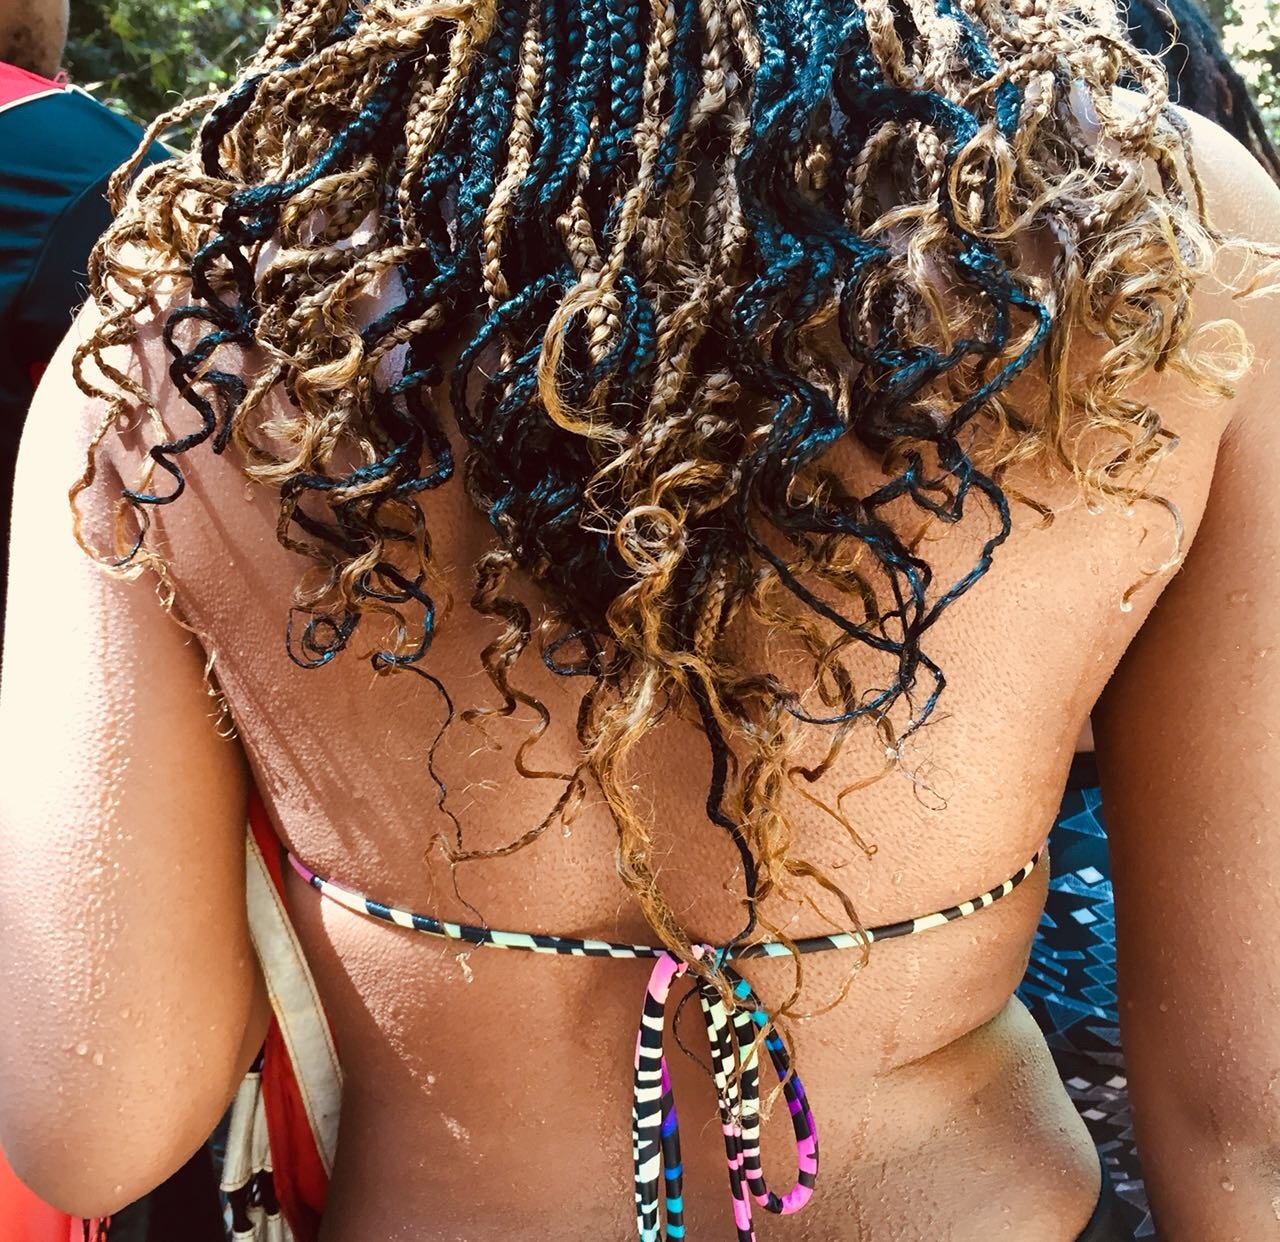
- Your Braiding Hair Of Choice. I used pre-stretched braids because it is just much easier to work with.
click photo to view on amazon

- Hair Needle and Black Thread. Hair needle comes with a bend so it’s much easier to use for sewing hair.

- A Lace Closure. This will function as the centerpiece for the wig. It will be braided so it looks natural. Again, I got one for the LOW! lol

- A Thick Stocking Cap. I used a dome cap.
- A Comb
- A chair or something to hold a string.
- A string.
- TIME!
Above I’ve listed all the supplies you need and honestly, it cost me less than $50. Plus, it will be less if you already have some of these things at home.
You can grab all the items at your local beauty supply store or click the images above to get them on amazon. These are affiliate links so I will earn a commission at no extra cost to you.
Okay, let’s get into the how-to.
Steps to Making a Braided Wig
Step 1: Gather your materials
Step 2: Tie the string on the back of the chair. This is where your braids will be braided onto.

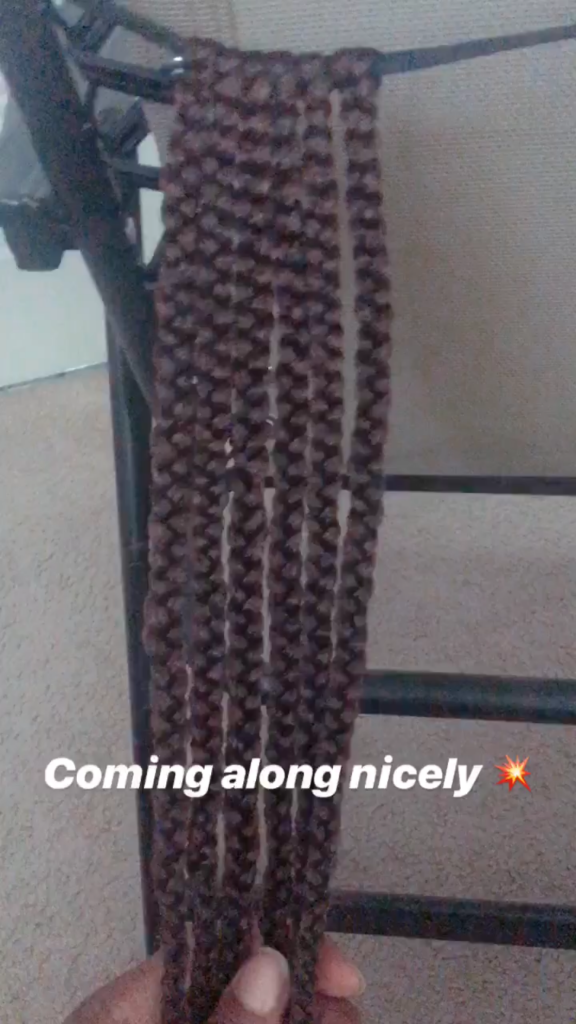
Step 3: Get your braiding hair and begin braiding individual braids in the size you desire. Please read this detailed guide on how to do box braids if you don’t already know how to.
Step 4: After braiding the amount of hair that you think will cover the stocking cap. Set it aside.
Step 5: Get your cap and place it on your mannequin head.
Step 6: Get the needle and thread, sew the lace closure onto the stocking cap, leaving the front out. i.e you need to sew down everywhere except the front.
Step 7: After sewing it down, braid the lace closure.
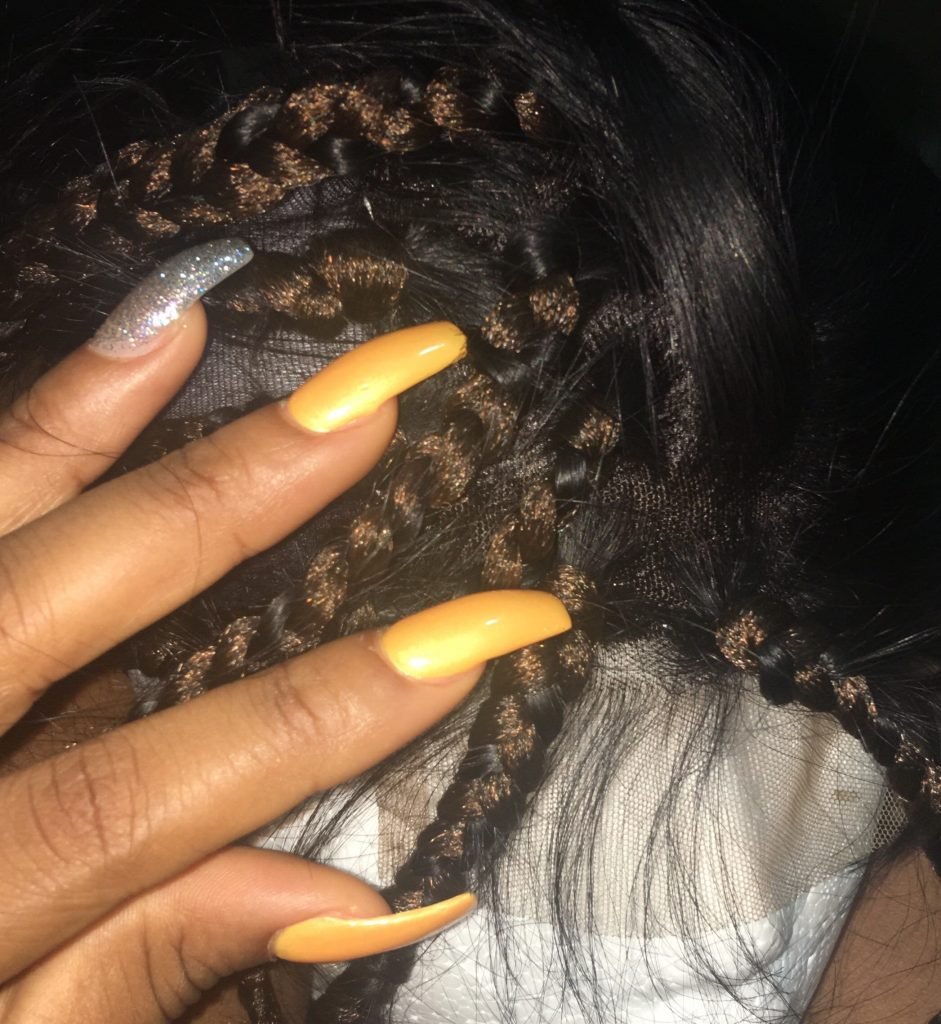
So, wise me did my nails for my birthday and it made braiding the closure difficult. 
Got it done though. YAY!
Step 8: After braiding use a pair of scissors to gently cut off the middle of the stocking cap that is underneath the lace closure. This will make the part visible rather than dark.
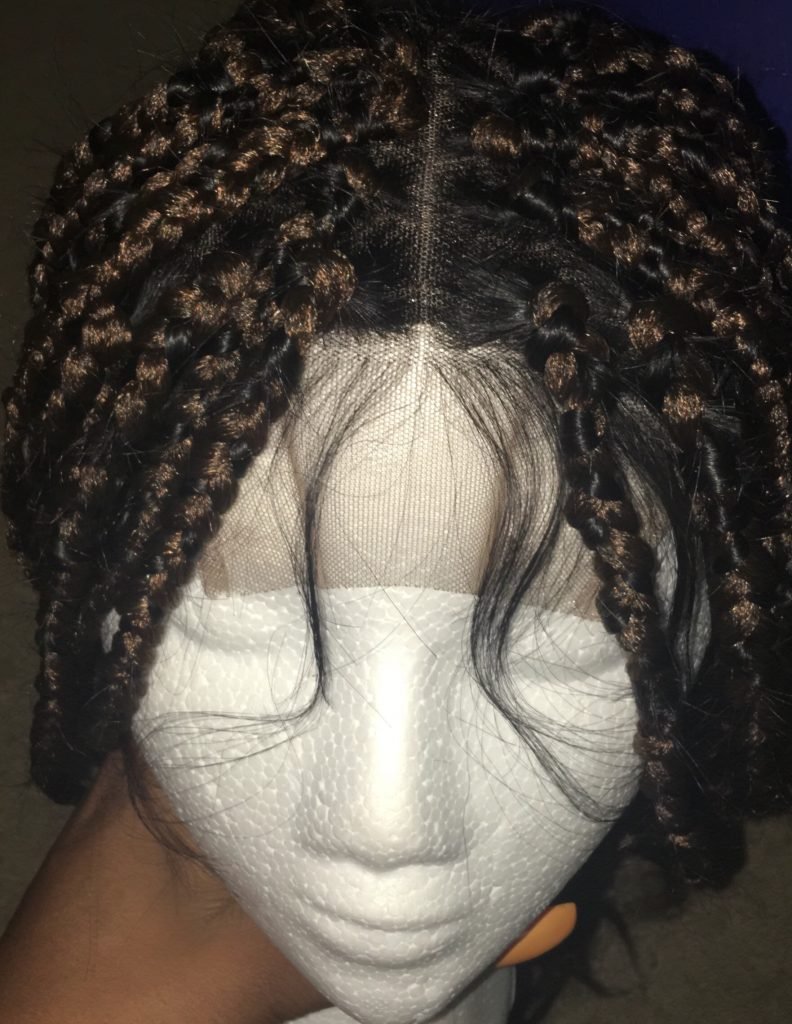
Step 9: After that is done, get the needle and thread and begin to sew the individual braids onto the stocking cap.
Tip: You can sew these a bit spaced out in the back and fuller towards the front.

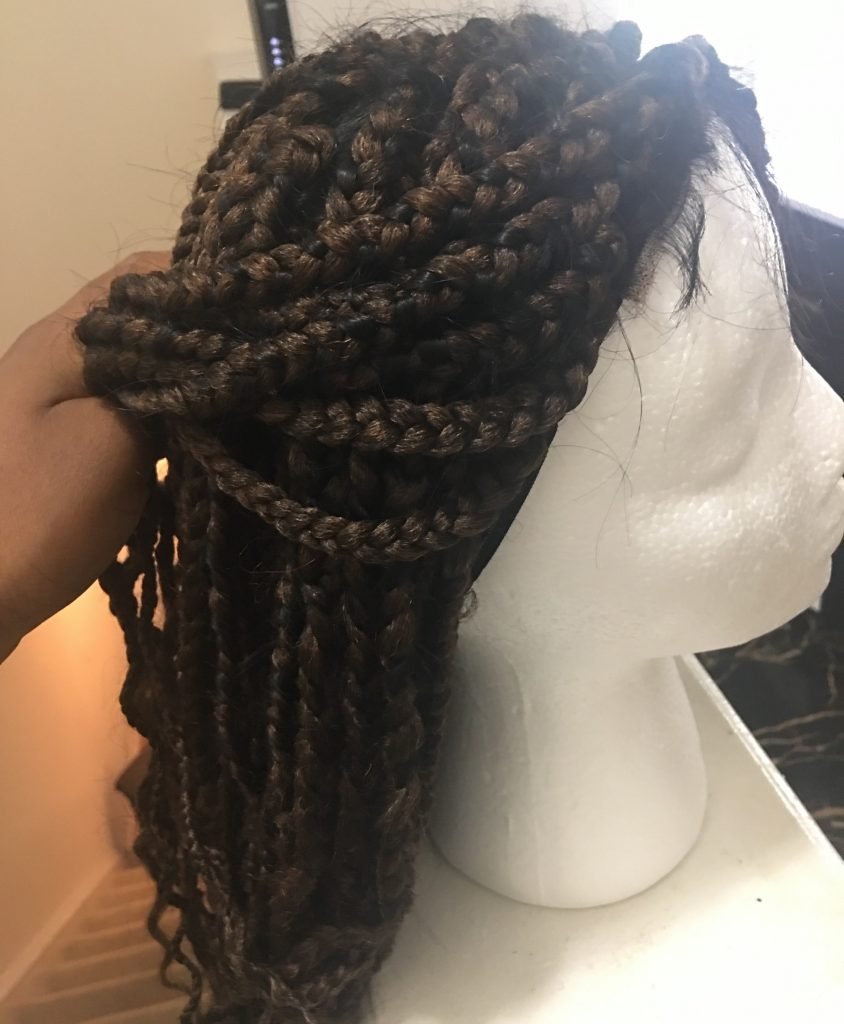
Once that is done, you should have a beautifully braided wig.
Step 10: Clip excess hair then rock the look.


Thank you for reading.


Oh wow thanks for sharing Amma hook me up with a braid wig
I’m glad it was helpful.
making braiding with wig is not that easy because you want it to look stunning and natural. i have been using human hair wig for braid down for middle part wig. it gives me prefect look which i want.
A lace closure will help it to look natural.