
Braided wigs are IN! and because they are in, I’m here to give you a quick guide on how to make a braided wig, without a lace closure. In the past, we had to sit for hours to get braids installed. However, times have changed and I must say, it’s for the better.
Faith n Turtles is a member of the amazon affiliate program. Each time you purchase using my affilaite link, I earn a small commission at no extra cost to you. Thank you for supporting us.
There are many benefits to owning a braided wig. Such as:
- Time- A braided wig will save you time because once its made, its made. You wont need to loose out the braids and you can always wear it, give it a rest and use it again.
- Money- You will have something that you can use for a quick style, without the need to buy hair or pay a hair dresser.
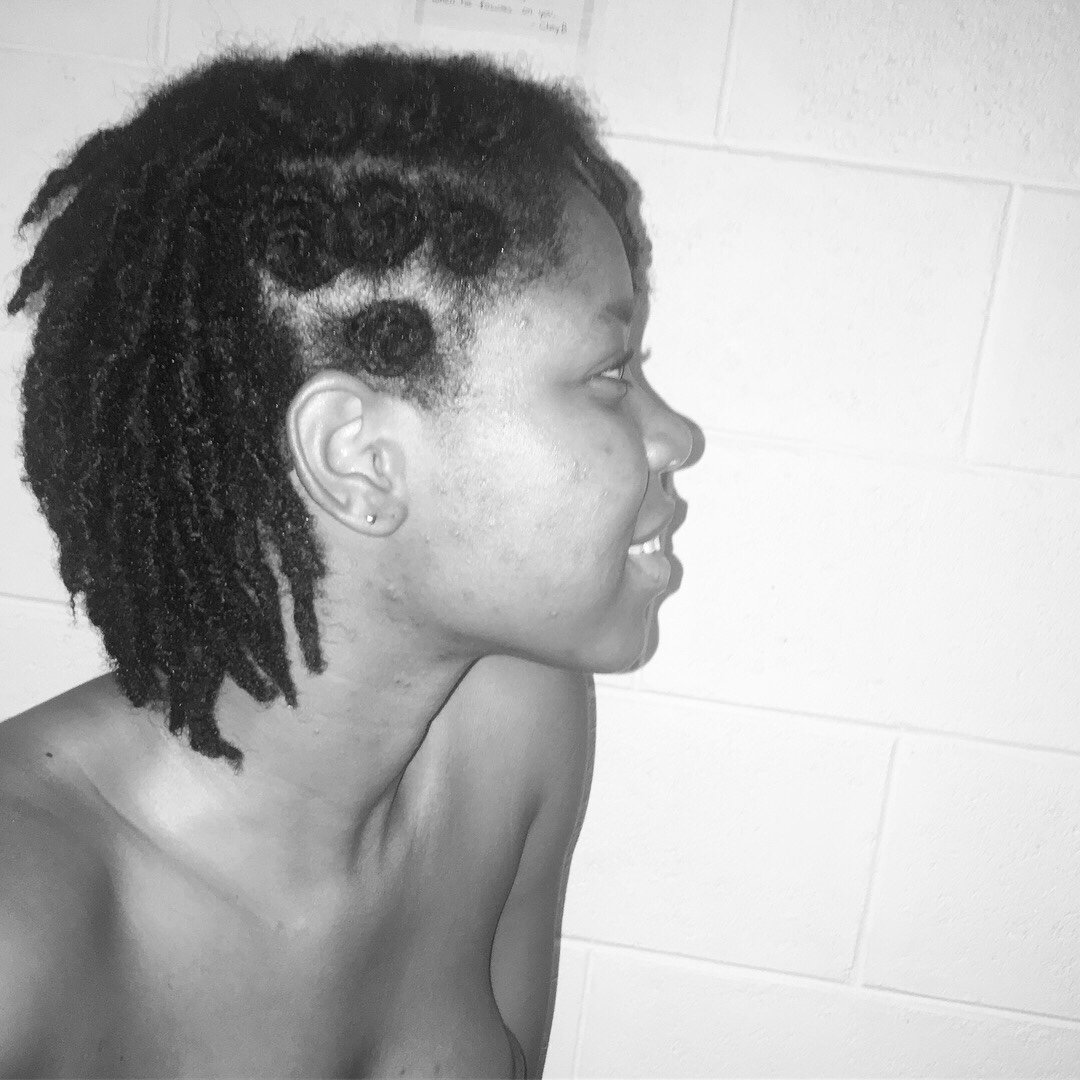
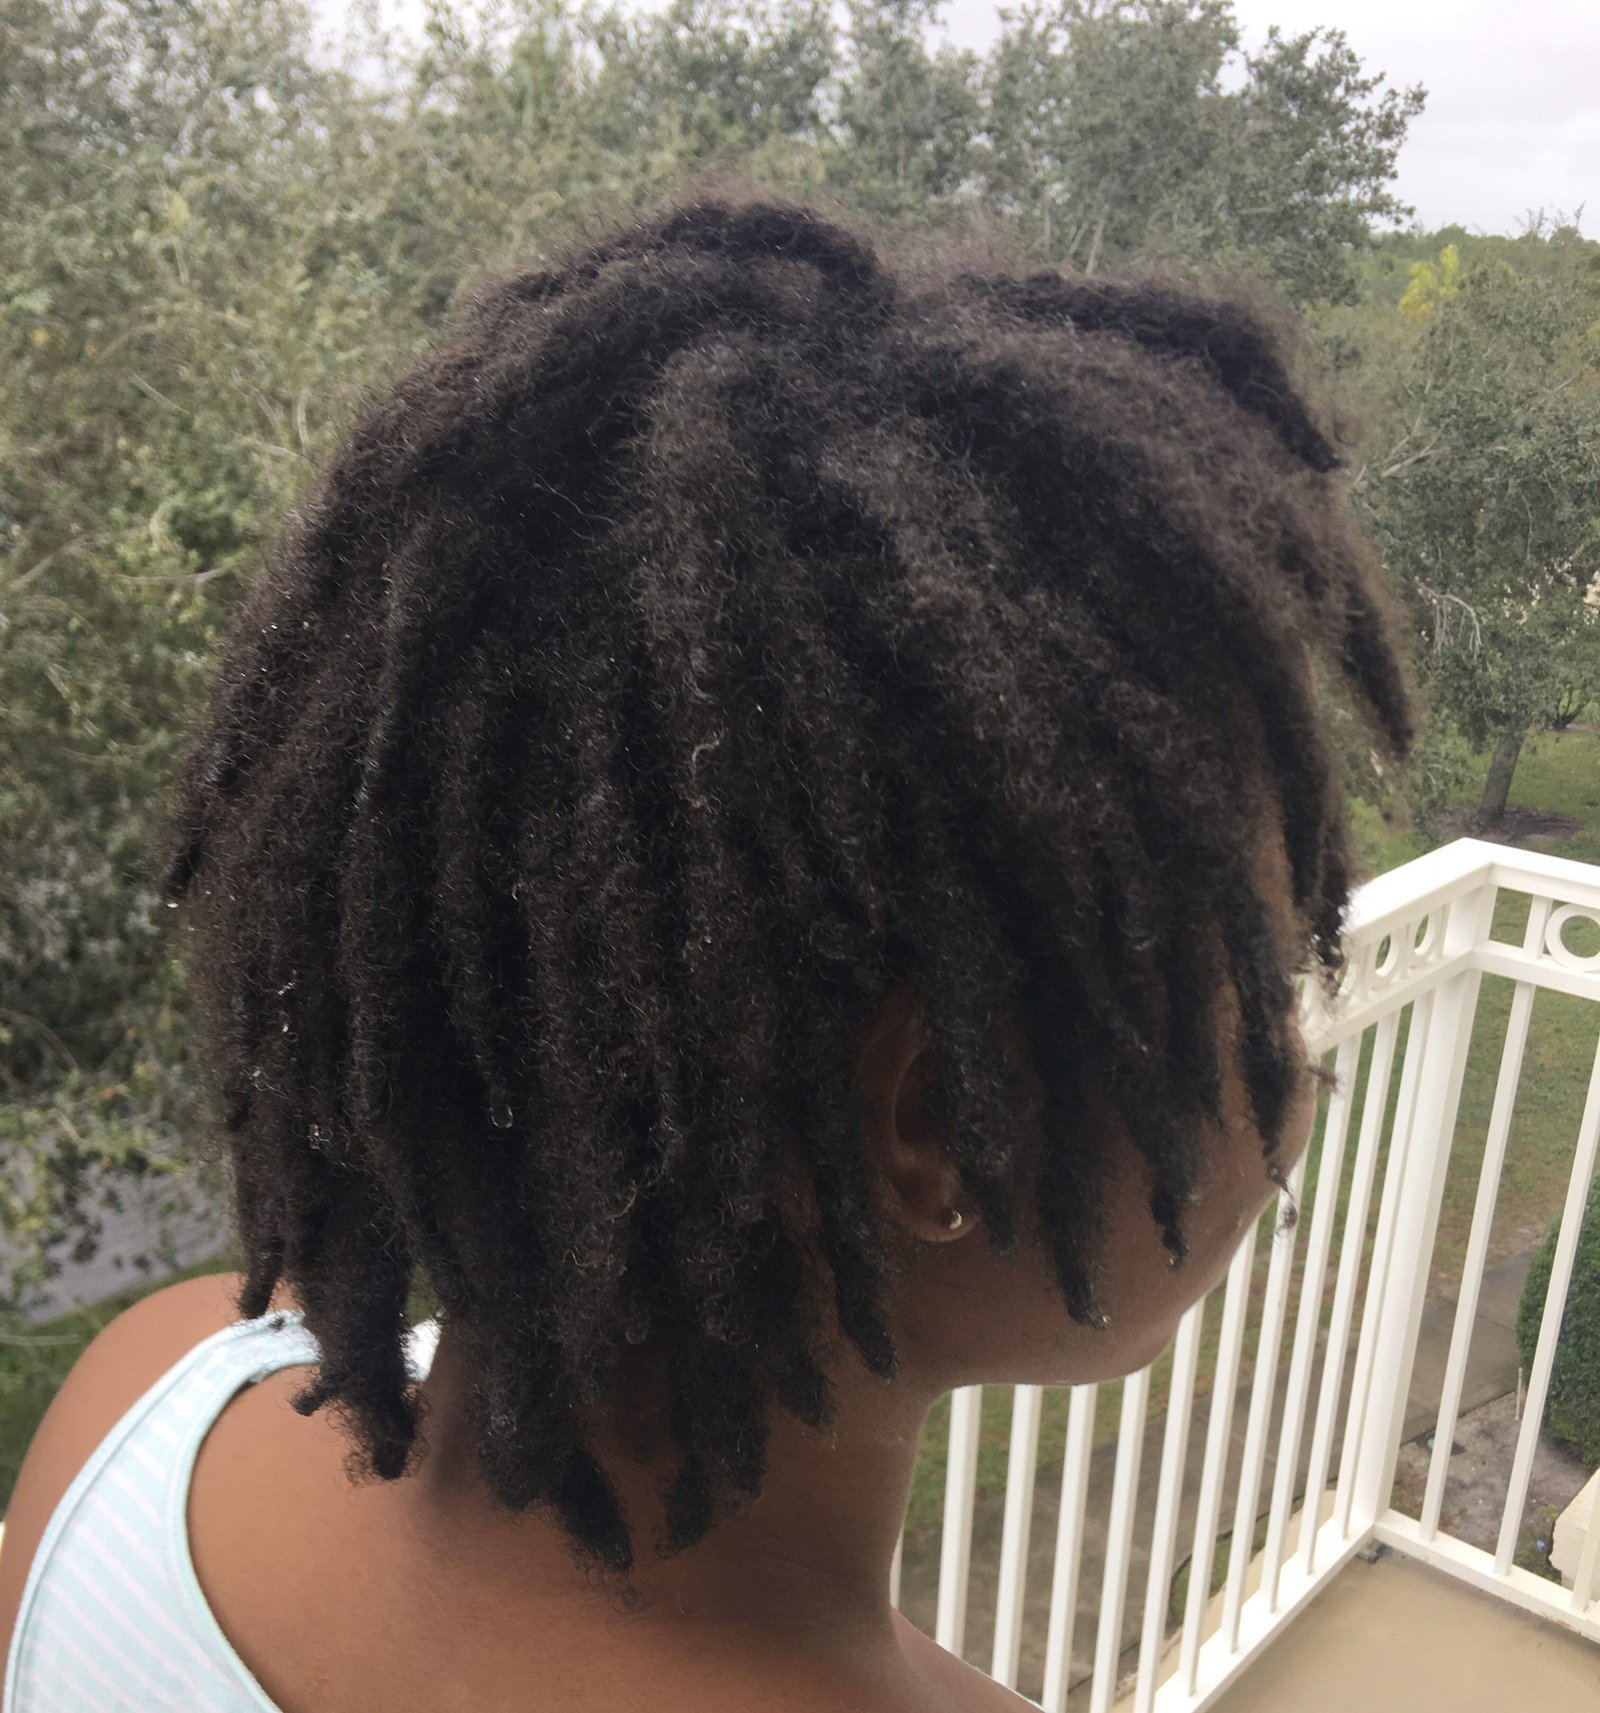
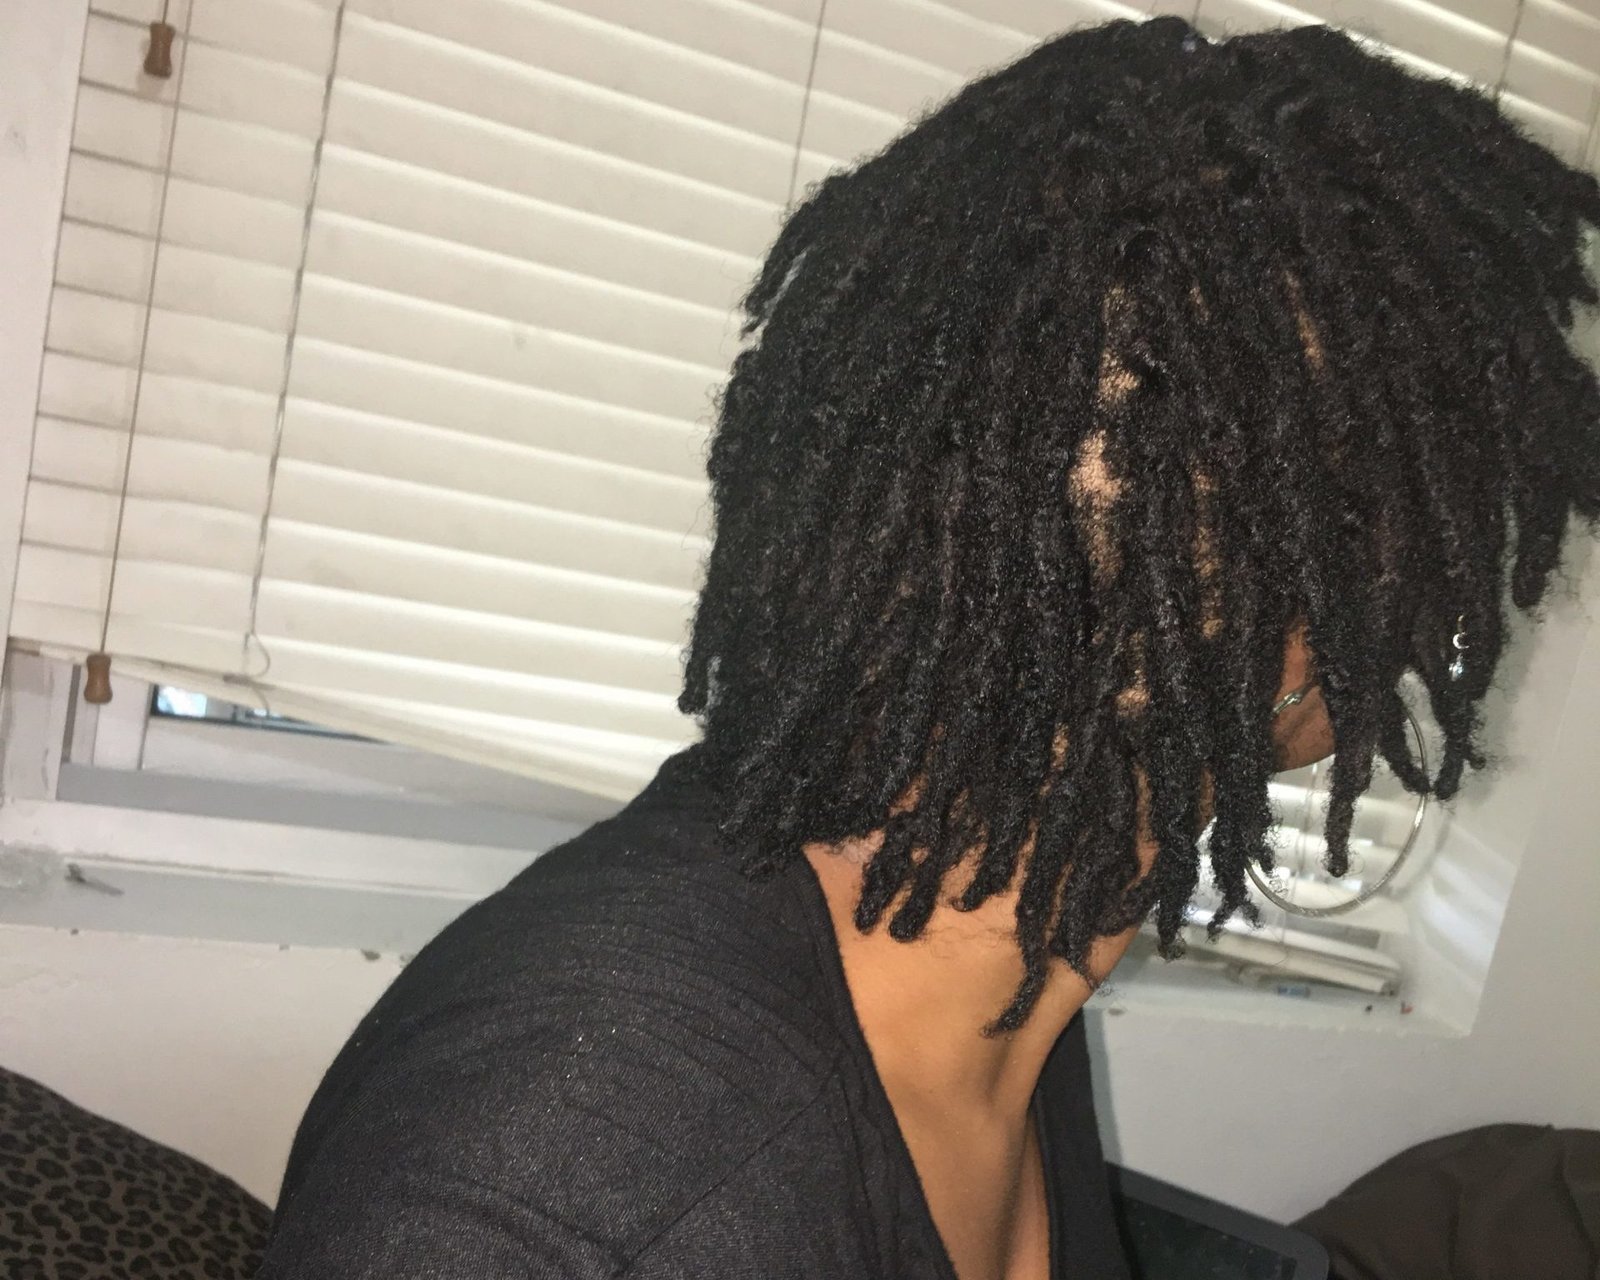
- Protective style- Its always a good idea to wear a protective style. That way, you can care for your hair without manipulating it. If you are unsure of ways to care for you hair while wearing a protective style you should check out this article: caring for starter locs in a protective style
Why I Ditched the lace clousure
The last braided wig I made, I hand braided the box braids and then braided the lace closure. I’ve been wearing it since I made it in August which shows that braided wigs are STRONG! If you haven’t read that post, please check it out: How to Make a box-braid wig with Lace Clousure
Okay back to the current wig. As I shared in my 7 month loc’d and life update, I started a new job. Because of this, the new braided wig had to be much easier to make because I was pressed for time. SO, I decided to go the pre-made braid route. Initially I wanted to loose the braids and braid them unto to the lace closure but due to the type of hair, this was difficult so I then decided to ditch the lace closure as well.
Now that the back story is done, let’s get to the step by step guide.

How to make a braided wig- without a lace closure
In order to make this wig you’ll need:
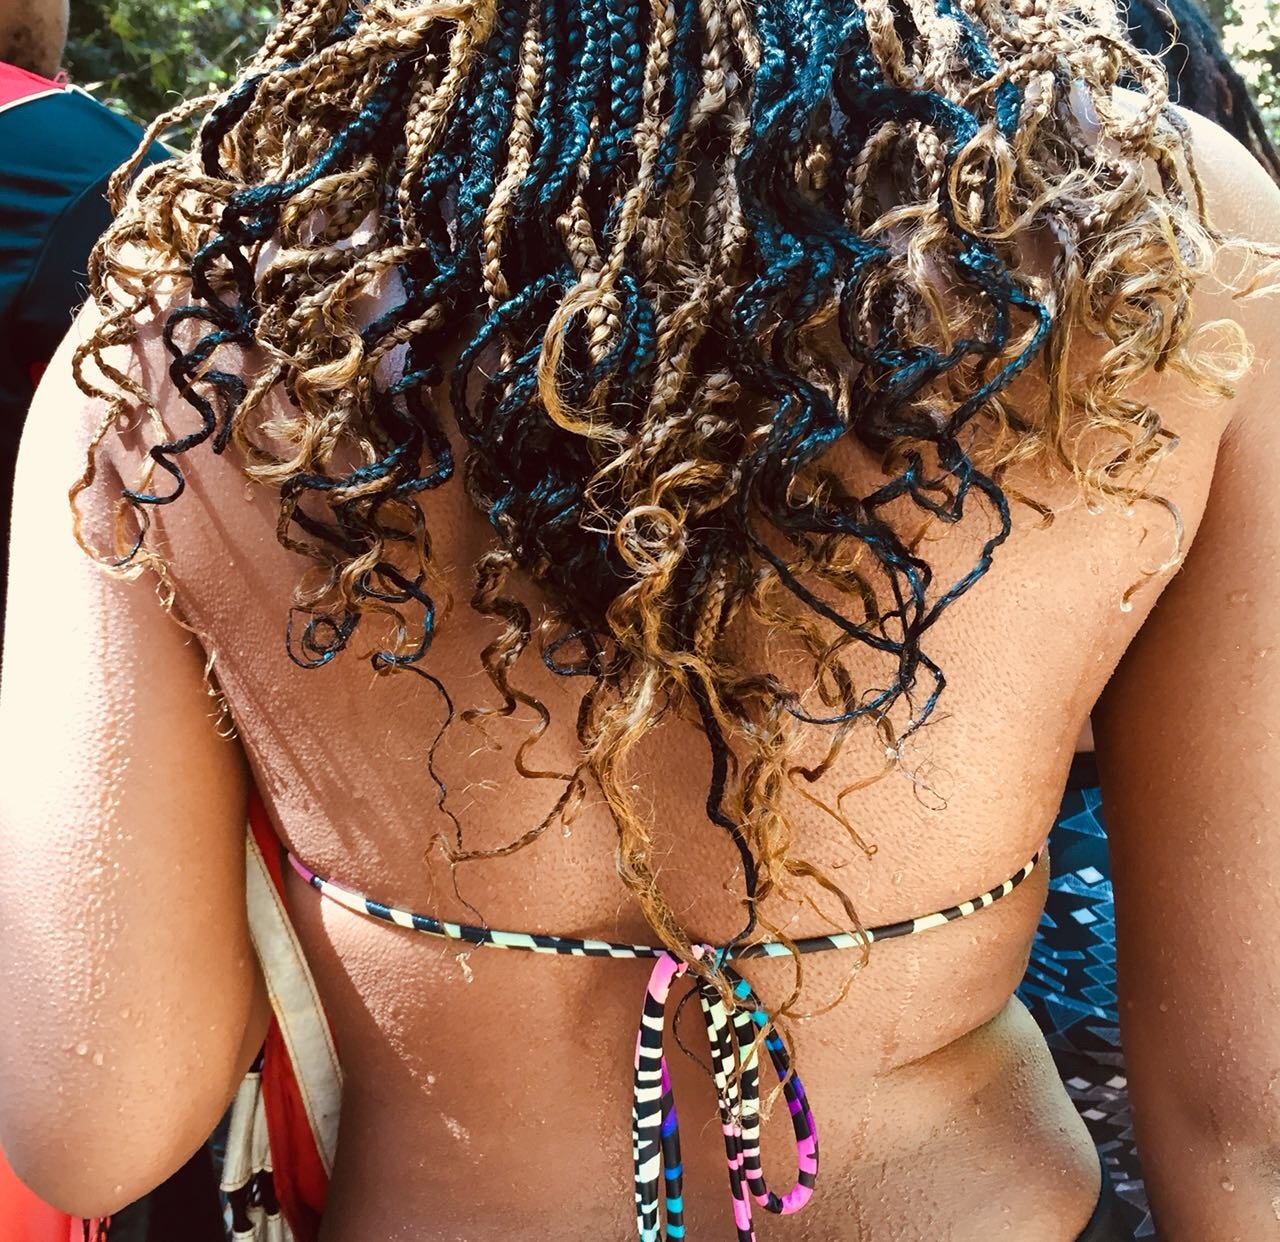
1. Pre-braided crochet braids. I used a 2 packs of passion twist type hair. Because my locs are getting thicker, I needed something with body as opposed to flat. You can get the hair I used by clicking the image below.
2. Stocking cap. I used the stocking cap with a lace part. I recommend that you use this one so that you can have the appearance of a lace closure for your part.
3. Needle and thread. And scissors.
4. Mannequin head.


Steps
Step 1: Gather your supplies. Thread your needle and place the lace stocking cap unto the mannequin head.
Step 2: Sew the braids unto the stocking cap.
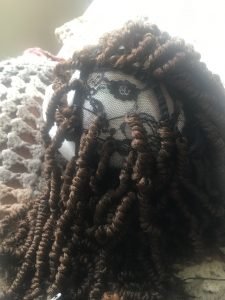
Leave out the front, where you want your part to be for last. I like to put more hair at the top and less as I go down. Also, I like to put them closer together at the top and further apart as I go down. This allows for better coverage.

Step 3: Once the wig is completed, go back to the top that you left out to close it. You close your part by sewing the braids very close together in a straight line. Once this is done, your wig should be done. You can use make-up to define the part or leave it as is. I left mine as is because well, i’m lazy.
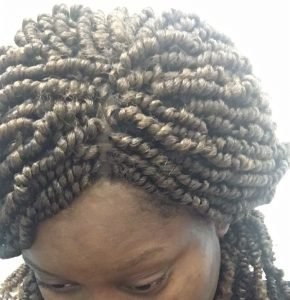
Step 4: Rock your new braided wig! And remember to take care of your hair and the wig.


Thanks for reading! See you in my next one but for now you can follow me on instagram @faithnturtles.

Would love for you to hook me up. Looking lovely
I for sure should! Thanks for reading 🌼.